1. Isonzo
  2. News

Isonzo News

Dev Blog #23 - The Dolomites

[h2]Isonzo is coming September 13th![/h2]
Following Isonzo's release date announcement yesterday (the battle begins on September 13th!) we wanted to share more about the map featured in the trailer: the Dolomites! Here's the trailer again if you missed it...

[previewyoutube][/previewyoutube]
[h2]Enlist to fight on the Italian Front![/h2]
Before we start our recon of the new map, we wanted to share a new competition to celebrate the announcement! You can win a game key and other Isonzo goodies by entering our raffle - all you have to do is sign up for the WW1 Game Series newsletter on our website to enter the raffle and get all the latest news from the development frontlines! Who knows... maybe one of you’ll be the lucky soldier who’ll be receiving an Isonzo goodie pack, including one of the first Isonzo game keys and a special Isonzo poppy grenade!

It'll look something like this...

[h3]Propaganda Posters[/h3]
We've also created some WW1 style propaganda posters if you'd like to help us spread the word about Isonzo! Some of you might’ve seen them at our expo visits in April this year - we’ve created some amazing looking propaganda posters! Feel free to share these images, online and offline. We can always use more soldiers at the front!


[h2]The Dolomites[/h2]
We’ve seen some literal uphill battles in previous dev blogs (see the hill outside the city of Gorizia and the first few defensive lines on Sabotino) but the Dolomites are on a whole different level. Historically the Italians attacked early in the war during August 1915 aiming to take control of Torre di Toblin: a rocky tower dominating the area. They got as far as capturing the Sasso di Sesto, where they established a base which would remain until the end of the war despite Austro-Hungarian assaults - particularly one in 1917 where tunnels and a night time raid led to the recapture of the Sasso di Sesto… for a short time. The Italians counterattacked in the morning and retook the peak. In Isonzo it’s the initial Italian capture of the Sasso di Sesto in 1915 which you will experience.

Comparison images, with photo on the left and in-game on the right! In both the Sasso di Sesto is in the foreground on the left, with the Torre di Toblin looming over it.

Italian troops advancing under fire.

Although the Sasso di Sesto is not that high (for a mountain) the paths leading up to it are very steep. This mountaintop battlefield also has some incredible scenery - in the background are the stunning Tre Cime di Lavaredo, also called the Drei Zinnen, known in English as the Three Peaks of Lavaredo. As you climb higher the views only get more impressive!

The Tre Cime di Lavaredo as seen in real life and in-game.

In-game there are two defensive lines, each line with a single capture objective. First up is the Dreizinne Hutte refuge, and after that is the Sasso di Sesto itself. Don’t be fooled into thinking that makes things simple though! The attackers have an extremely steep mountainside to climb that poses some unique challenges.

One of the routes up the mountain.

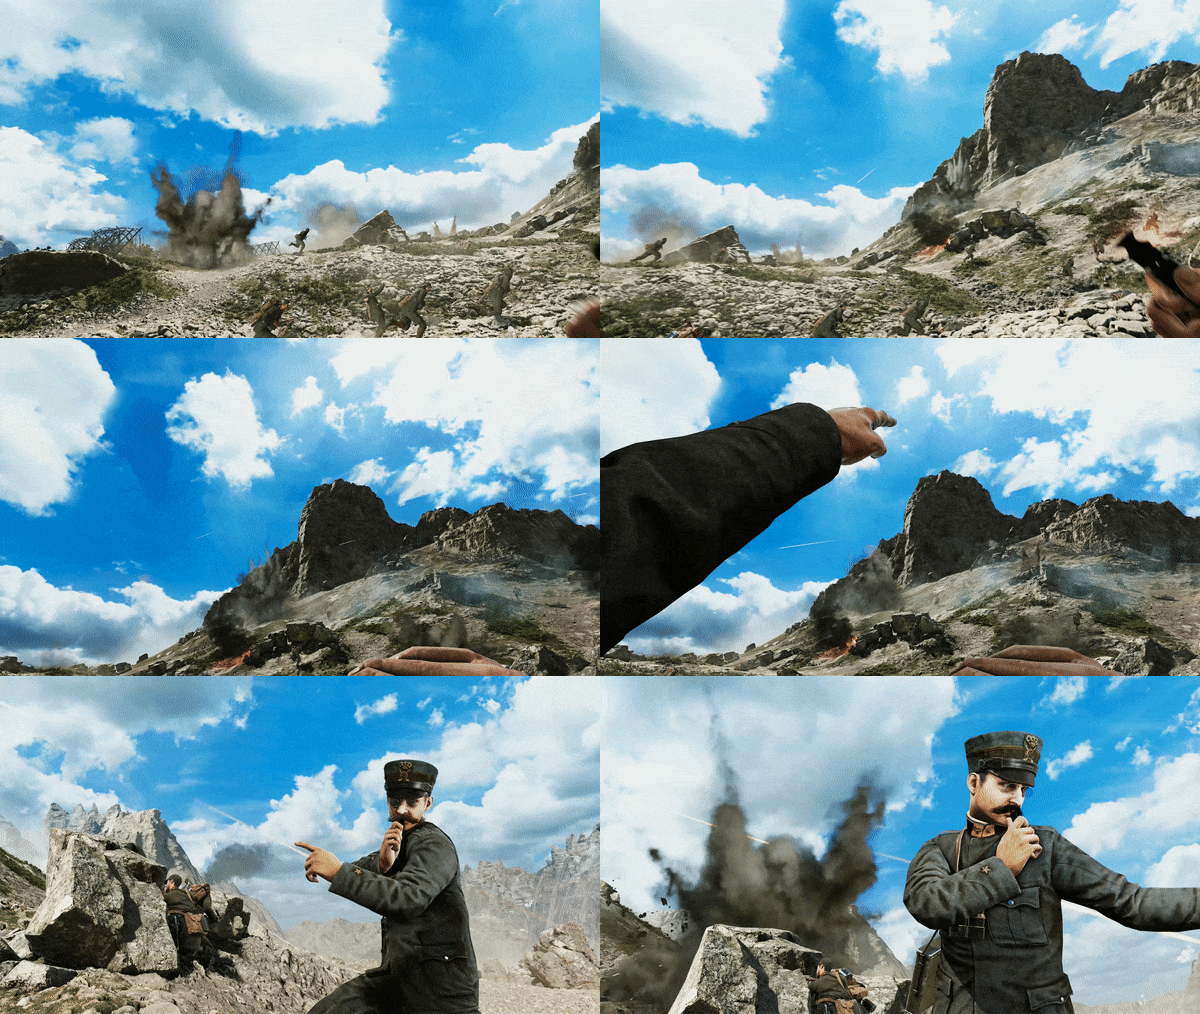
Italian officers will need to be bold if they want to get flares past the very frontlines of the battlefield - because while you can normally use a shallow angle on your flare gun to cover a large distance, here the mountain is so steep that you’ll need to be quite far forward or your flares will hit the mountainside rather than getting up above the enemy positions! Naturally the Austro-Hungarians will have no such trouble, and their commanding height advantage will enable them to easily place flare markers anywhere they choose from relative safety.

When attacking you’ll need to be careful with grenades since they could end up sliding back down the hill at you - this influences the defenders too though since they’ll need to cook off their grenades or risk them sliding down past their targets.

Close quarters action assaulting a trench line.

We’ll return to the Dolomites to cover each objective in more detail. Don't forget you can already wishlist Isonzo ahead of the September 13 release!


[h2]Until next time soldiers![/h2]

https://store.steampowered.com/app/1556790/Isonzo/

Avanti Soldiers! Isonzo Release Date is here!

Hello soldiers!

We’re happy to share with you all that our 3rd game Isonzo will be released on September 13 ! On this day, you’ll be able to fight on the Italian Front – up in the mountains, alongside the Isonzo river and in rural areas! Luckily you won’t have to fight these battles with a vast group of players, since each map will have room for 48 PC players (in total).

[previewyoutube][/previewyoutube]
Along with the release date, we’re revealing the 4th map you’ll be able to play on in Isonzo; the Dolomites! During World War One, the frontline ran right through these mountains. Will you be able to conquer the mountain along with your fellow Italians? Or will you stand high and mighty on the top as an Austro-Hungarian?


This new trailer shows off the Dolomites map! You’ve seen a bit in the trailer, and now you can read all about it in tomorrow’s dev blog !


[h2] Wishlist & fight on the Italian Front later this summer! [/h2]

We have more exciting news besides the upcoming Isonzo Intel! For now, please make sure you've wishlisted Isonzo !

https://store.steampowered.com/app/1556790/Isonzo/

[h3] See you on the battlefield soldiers! [/h3]

Dev Blog #22 - The Rifleman

[h2]Rifleman[/h2]
Riflemen make up the bulk of the force and are equipped with rifles, grenades and support equipment. Vitally important for both taking and holding ground.

Today’s topic is the Rifleman class: the core of the team, for which there are unlimited slots available. The base of the class is the standard issue main battle rifle and bayonet, but later unlocks will include reserve issue rifles and rifle grenades. The rifleman is also the backbone of the team and can assist other players in a number of ways, being able to resupply ammunition to teammates, provide fire support with their rifle grenades, and more.

Italian Fante Rifleman

The Italian ‘Fante’ soldier (Fante translates as ‘infantryman’) is equipped with the standard issue Modello M1891 Carcano rifle, while the Austro-Hungarian KuK ‘Landwehr’ carries the M1895 Mannlicher. Riflemen who want to use rifle grenades will have to surrender their bayonets. For secondary equipment, Riflemen can take a single hand grenade, or the ammo box - more on that later in the post!

The Austro-Hungarian army had changed from white to dark blue uniforms towards the end of the 19th century, and they would go on to switch again to a darker uniform in late 1915 - of course many troops would continue wearing the blue uniform seen below. Experienced Riflemen will unlock the newer uniform as a visual customization option.

Austro-Hungarian Landwehr Rifleman

[h2]Ammo Crates and Resupply[/h2]
One of the Rifleman’s signature abilities is the ammo crate. In longer engagements your allies may run low on ammunition (especially Assault troops using light machine guns) and in these situations a well placed ammo crate can make all the difference between a successful assault or one that runs out of steam. There are two basic strategies for good ammo crate placement - put it near a spawn point, which will give newly arriving reinforcements a starting ammo boost without them even needing to use the crate, or place them near the front line behind cover, where troops in action can grab fresh bullets and magazines as they need them.

The ammo crate is a perk, but there’s also an ammo box secondary equipment option - this allows the Rifleman to resupply his comrades directly, but more importantly he can resupply static weapons like heavy machine guns, mortars, and even mountain guns. These heavy weapons can provide a lot of extra firepower but run through ammo quickly, so this is an extremely valuable service to perform for the team!

Handing out ammo with the ammo box.

[h2]Rifle Grenades[/h2]
We looked at rifle grenades in detail back in blog number six but to recap, Riflemen can use rifle grenades to provide explosive fire support at long range. It takes a bit of time to load the grenade and some practice to get good at aiming them, but they can be very powerful.

Using a rifle grenade in fighting at the Gorizia train station.

[h2]Perks and Bandages[/h2]
For more combat oriented Riflemen, you can get more accurate rifle grenades with more spares carried, or a stability boost for more accurate rifle fire. Most of the perks are support based though - the default Ammo Carrier option allows the construction of the ammo crate discussed above, Point Man increases your impact when capturing areas - you count for more than one person, which is very important when both enemy and friendly troops are present in a capture area, since only the team with the most soldiers present will make progress towards capturing the zone. Another option is the Chaplain perk, which doubles your bandaging speed. What are bandages? In short, when you get wounded in Isonzo you will probably find yourself bleeding. When this happens you will continue to slowly lose health, and can die. To stop the bleeding, someone needs to apply a bandage. You can do it yourself, but it’s much faster if a teammate helps you out.

An ammunition crate.

[h2]Class report complete![/h2]
With this closer look at the Rifleman, we’ve covered all the class options available in Isonzo! Every class has different strengths and weaknesses, and they’ll need to work together to fight at their best.

You can wishlist Isonzo on Steam!
https://store.steampowered.com/app/1556790/Isonzo/

[h3]See you next time, soldiers... to end this devblog, we leave you with a little surprise. Exciting news will follow June 14. Stay tuned![/h3]

Dev Blog #21 - Gas! Gas!

We covered artillery support options in a previous dev blog, and the Chemical Regiment follows the same format with five choices, with later options having increasingly long cooldowns. The chemical warfare options have a slightly longer cooldown than the artillery and aviation call-ins, because gas and smoke remain on the battlefield for longer.

[h2]Smokescreens[/h2]
There are two smoke options available. The most basic Chemical Regiment call-in is a two shell small smoke barrage which will provide a small cloud of smoke that will stay in place for 80 seconds. This is most useful to blind specific enemy strongpoints or heavy weapons. Drop it in front of a machine gun or a bunker’s firing slot and you’ll effectively take them out of the fight for more than a minute!

Italian troops advancing under the cover of smoke.

The other smoke option is number three in the list of Chemical Regiment call-ins, and deploys a creeping smoke barrage. Ten shells in a row from the target, using the same aiming system as seen with the creeping artillery barrage. This smoke also lasts 80 seconds, so the advantage to this choice is that you can create a proper smokescreen across a wide area. When you need to cross open ground or could use some cover to destroy enemy obstacles, the creeping smoke barrage will give you the concealment you need.

[h2]Gas Barrages[/h2]
While smoke must not be underestimated, we know that gas barrages are what comes to mind first when people think of the Chemical Regiment. There are three gas barrage options, each using a different form of gas. In reality of course there were a lot more than three types of gas, but for gameplay purposes we’ve labeled our three gas options based on some of the most common / notorious gasses used.

Tear Gas
The second option in the chemical call-in list is tear gas - something like Xylyl bromide. First used in January 1915 by the Germans against the Russians (some say the French used it in 1914 against the Germans, but that was likely a somewhat different tear gas) it failed utterly due to cold conditions and wind blowing it back towards the German lines. Despite another failure near Nieuwpoort in Belgium, it was easy to manufacture and thus remained in use. You’ll also see it described in game as ‘White Cross’ - this is based on a German designation for any gas that affected eyes and mucous membranes. In Isonzo two shells are deployed, and the gas lingers for 80 seconds, the same duration as smoke. A gas mask provides complete protection.

Italian soldier using a rudimentary gas mask.

Phosgene Gas
Classified as a ‘Green Cross’ gas in that it affected the lungs, phosgene was originally developed in 1812. It was an important part of the chemical industry during the 19th century, and so relatively easy for warring nations to produce. The first major use during the war was by the French in 1915, while the first use on the Italian front was 29 June 1916 when the Austro-Hungarians deployed it against Italian positions on Monte San Michele. It was often mixed with chlorine, because while phosgene was more potent than chlorine, it didn’t spread as well - a problem mitigated in a chlorine mix. In Isonzo the phosgene gas call-in deploys 4 shells leaving gas clouds that remain for 95 seconds. It has a stronger effect than the xylyl gas, and will incapacitate soldiers more quickly if they are not wearing their gas mask. Again, wearing a mask will completely protect you.

Austrians used phosgene gas on Monte San Michele in 1916.

Mustard Gas
Developed into a military form fairly late into the war (first used by the Germans at Ypres in 1917), mustard gas is so named because it has a strong odor resembling mustard plants or garlic. The gas itself is colorless, but tends to take on the brown-yellow color when mixed with other elements to be a more effective weapon. A particularly toxic compound, mustard gas causes burns to skin, with prolonged exposure leading to the equivalent of second or even third degree burns. Worse, a gas mask alone won’t provide full protection, since it can penetrate cotton and wool to burn covered skin.

Gas spreading after shells land.

In Isonzo, mustard gas is the fifth tier Chemical Regiment call-in, where it is deployed in a five shell barrage. The gas remains for 110 seconds. Wearing a gas mask will protect you (at least it can be considered to keep you able to fight despite any longer term effects) but otherwise mustard gas will incapacitate you very quickly indeed. You’ll have to drop what you’re doing and don a mask immediately!

[h2]Isonzo Intel complete[/h2]
That’s all for this week! We have one more dev blog coming in the future about the Aviation Corps call-in options, and of course much more about the rest of the game. See you then, soldiers!

You can wishlist Isonzo on Steam!

https://store.steampowered.com/app/1556790/Isonzo/

Dev Blog #20 - Barbed Wire

Barbed wire is one of the most common battlefield obstacles you’ll find in the WW1 Game Series, whether you’re fighting in France and Belgium with Verdun, on the Eastern Front with Tannenberg, or here in Isonzo. It slows you down, tangles you up, and will cause injury with potential death if you don’t free yourself.

[h2]Why not just cut it?[/h2]
You might wonder why soldiers couldn’t simply cut through wire, or perhaps lay down some fabric or material to allow a crossing? Those things are possible… but the scale of barbed wire usage makes it a lot harder than crossing a modern day barbed wire fence. For instance, take a look at this photograph:

How long would it take a cut a decent sized path through all this?

First World War generals tried using artillery to reliably clear paths through wire - it didn’t work. Later in the war they tried tanks - sometimes it was effective, but other times wire would choke up the tracks and leave tanks disabled. Wire cutting was effective, but slow and very dangerous under fire. Often wire cutting at night using stealth might be the best way to clear a route, but naturally the enemy wouldn’t just sit back and allow that to happen. There would be scouts, raiders, wire laying parties, and more out in no-man’s land at night.

The Italians in particular had trouble dealing with barbed wire earlier in the war because they lacked good equipment for the job. This is part of the reason why the Italian ‘Compagnie della morte’ or ‘Companies of death’ gained such a reputation. They were mixed groups of infantry and engineers who wore body armor and heavy helmets to go and cut wire or blast gaps in it - some argue they can be considered predecessors of the Arditi shock troops.

Italian Company of Death engineers with their body armor. We know we use this screenshot a lot, but it’s a good one!

[h2]Types of wire in Isonzo[/h2]
In Isonzo, there are three types of wire: player built wire, weak point wire, and prebuilt wire. The prebuilt wire is similar to the wire seen in previous WW1 Game Series games. It will slow you and injure you, and cannot be removed. It represents the thickly laid and firmly built wire that was very difficult to get rid of even with tools and time.

Weak point wire is different - while it has the same effect, it can be built and cut by players repeatedly during the game. Defenders can construct wire at these gaps in the wire, and attackers will want to remove it. This wire appears on the minimap as a sort of mini-objective, like forward spawn points and heavy weapons. It represents the entrance and exits to trench lines that would have been used by scout parties to enter no-man’s land, which is why the wire is thinner and possible to cut at these locations.

One of the weak spots in a belt of pre-built wire.

[previewyoutube][/previewyoutube]Assaulting a weak point in the wire under intense machine gun fire.

Every sector has parts where the attackers will need to break through thick belts of prebuilt wire by cutting it at these weak points, almost certainly while under fire - this provides cinematic moments in the battle, but it also emphasizes the historical importance of wire during the First World War!

Continuous wire belts in several sectors on our Sixth Battle of the Isonzo maps.

Last but certainly not least, there is the player built wire! Engineers will be able to construct short stretches of wire anywhere on the map which is flat enough. This wire can be cut by opponents, or destroyed by large explosions. While there is a limit on how much wire you can lay (both a team limit and a per engineer limit) it’s quite generous.

[h2]Wire in use[/h2]
How you use this wire as an engineer is up to you. Obvious choices are narrow paths and entrances that you want to seal off, or perhaps along the top of trenches if you want to stop enemies jumping in and aren’t worried about the wire getting in the way of your shooting out. Remember that your wire can be cut though, so it is an obstacle rather than a complete denial of an area. If you need to delay enemies longer, you’ll need to lay multiple lines of wire.

An engineer constructing some wire to block a trench.

However, you can also use it to funnel enemies in a particular direction on open ground (given the choice, many people will simply take a clear path rather than stopping to remove your wire), or place it on the sides of a heavy machine gun to get in the way of flanking enemies aiming to backstab the gunner. Again, being an obstacle is enough! Enemies will be able to circumvent or remove wire you lay, but even delaying them for a few seconds might save your machine gun or prevent a sabotage bomb being laid.

Two types of wire are available: one is a fairly simple short stretch of wire of the type that was historically used to block communication trenches (that connected the front line and rear area trenches) in battle to prevent attackers advancing. The other is inspired by the ‘cheval de frise’, which translates as ‘Frisian horse’. This is a sort of catch-all term for spiked obstacles, originally a reference to skilled Frisian cavalry and their powerful steeds hundreds of years ago - you’d want good anti-cavalry defenses to fight them!

A section of player built ‘Frisian horse’ wire on the left, with the simpler wire choice to the right. Each type of wire has a separate build limit, so make sure to use both!

And that wraps it up!
The barbed wire in Isonzo is interactive and player driven, and we think you’ll be surprised how much fun it can be to work with. Whether you’re laying it down or clearing it out, wire can change the course of battles. Isonzo is available to wishlist already! See you next time...