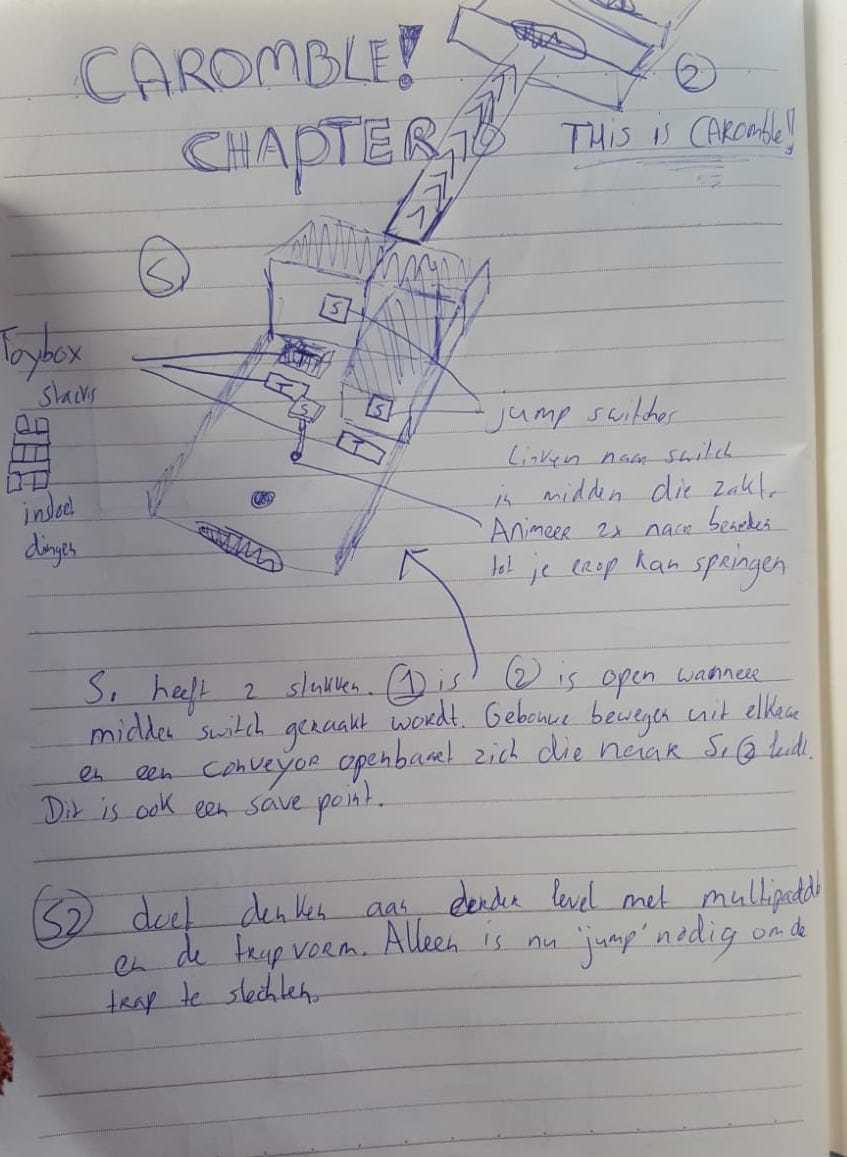
Since we're working with a small team on Caromble!, We have to find ways to optimize the work-flow. In the beginning I did a big degree of the art analog - with pen and paper. But in recent months I've set up a very procedurally. Basically keeping the style but letting the computer do the work for me. Here I'll describe in layman's terms some steps of how I go about it.I should first describe what procedural art means. You can think of it as the artist not doing the actual artwork anymore, but describing rules to the computer that it then executes. This has some disadvantages: it takes longer, and needs a different skill set that you have to learn (e.g. knowing how to program is useful). The upside is that you can then just tell the program: Do some more variations. So the more assets you need, the more the initial effort will pay off.
A specific twist in my use-case is that I'm trying to emulate a
unique style.
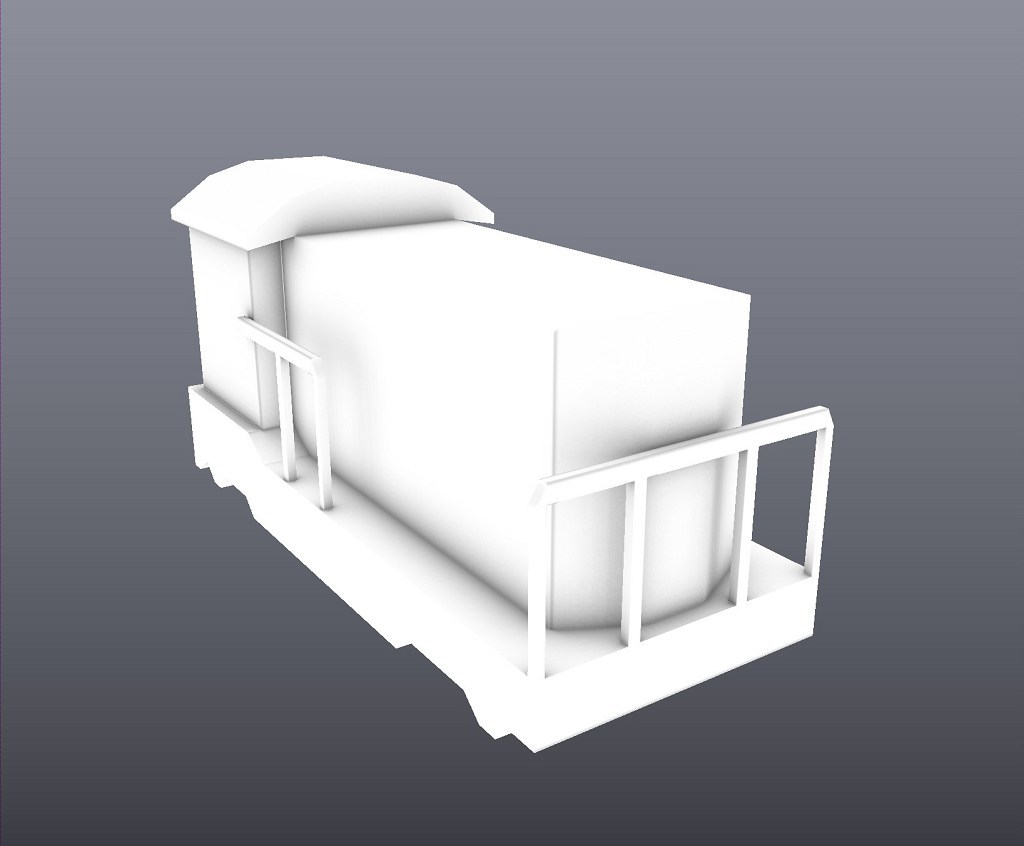
Let's first take a look, of what a final object looks like:

Starting out here with the final look of the diesel locomotive, so you see what the target look was. It has a bit of a comic style, but still shading and some little details.
Five years ago, there was not much in usable procedural tools out there. Now tools like
Substance Painter became essentially industry standard. A lot of texturing-work you once had to do draw by hand in Photoshop - a tool that was made for ... well, editing photos - you get now done near automatically. With Painter you can for example just take a 3D object, and drop a material like "wood" on it, and
*boom*, your asset looks like made from wood.
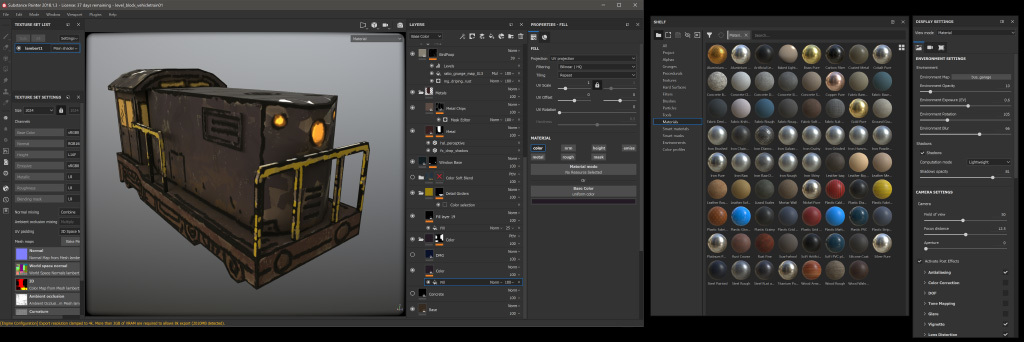
A working view of Substance Painter. You can see for example the swaps on the side that I could drag on an object to give it a specific material.
Painter is in essence made for painting details onto the 3D object - so here is the final result I export and then use in our game engine.
For the actual process, the program first calculates various properties of the 3D mesh. These I can then use to create rules - like "where the object has little hidden corners ... make it more dark, to simulate shadow". Notice how this is a flexible process. Depending on the object, I could also say "put dust in these hidden corners". Here is the object with this calculated data projected on it - in this case it's called Occlusion-Map.
A map that shows shadows on the object, called Occlusion-Map - like how it would get darker in corners. It makes the object more readable.
Another such map shows me the elements of the object. It fills them with flat colors, so that with just a few clicks then I can define unique properties for an element.

This map automatically color codes elements. This way I can then easily say "make all girders yellow".
Other examples are a map for showing the thickness of elements:

For this thickness map, the computer automatically calculates every element that is thin (and becomes black here) or thick (white)
Or the location:

The position map is a bit harder to read - but you can see for example, how in one corner everything becomes red. This way you can tell the program for example: "Color everything that's on the bottom in a certain way".
Specifically for my use-case, a map showing the edges is useful.

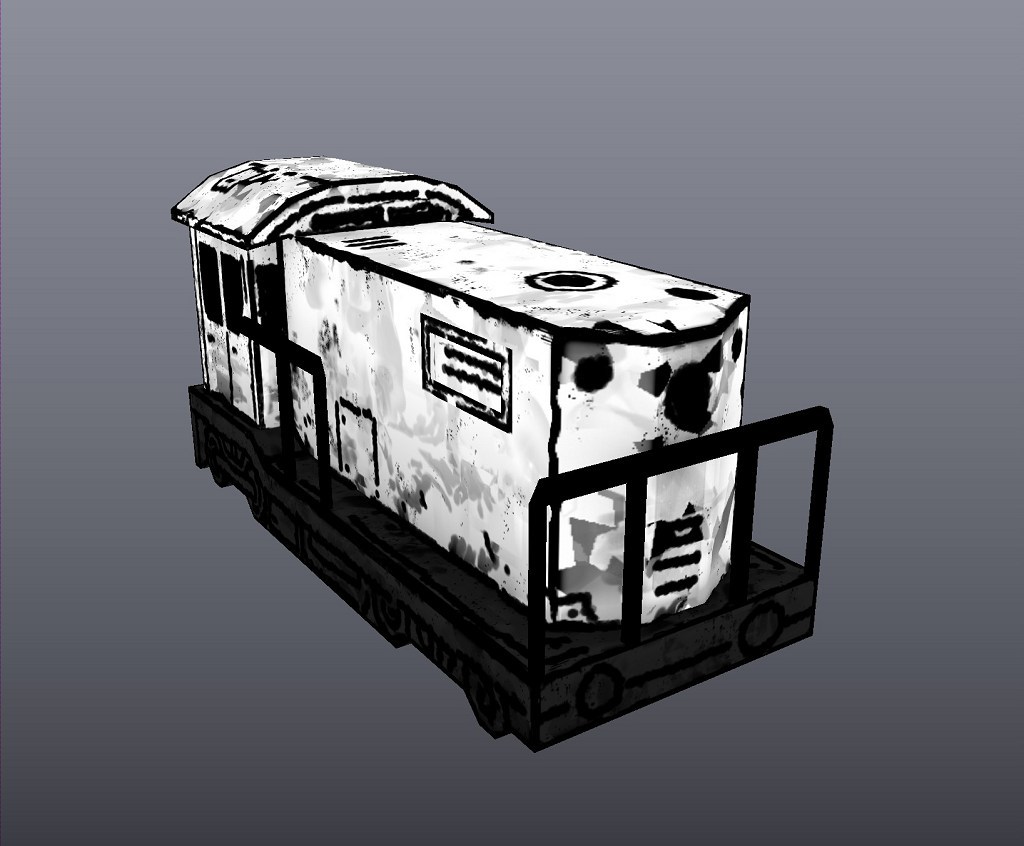
Here is the "Curvature-Map" - it shows edges that point outside as white, and inward pointing ones as black. I used this one as source to create the first step of my texture.
After all, my style has black lines that mimic how in comics elements are separated - which I try to make look like simple
ink line style. Using the map you see above, I told the program to automatically draw a black line on all inner and outer edges. Here is the result.

This outline is completely automatically generated - I told the program to add some distortion, to have more natural look.
It all still needs a more detailed artists input. In the following step, I go in and add by hand all details that the program by itself can not know. Like that locomotives have little lines and exhausts.

I went in and painted in the 3D view, to add specific details like lights.
Using the earlier mentioned Position-Map, I then add variation to the surface.
This step is now automatic - it adds variation. I'm using the height information from the earlier layers, to tell the program: Add more damage at the bottom (as there would be more dirt and such on a train)
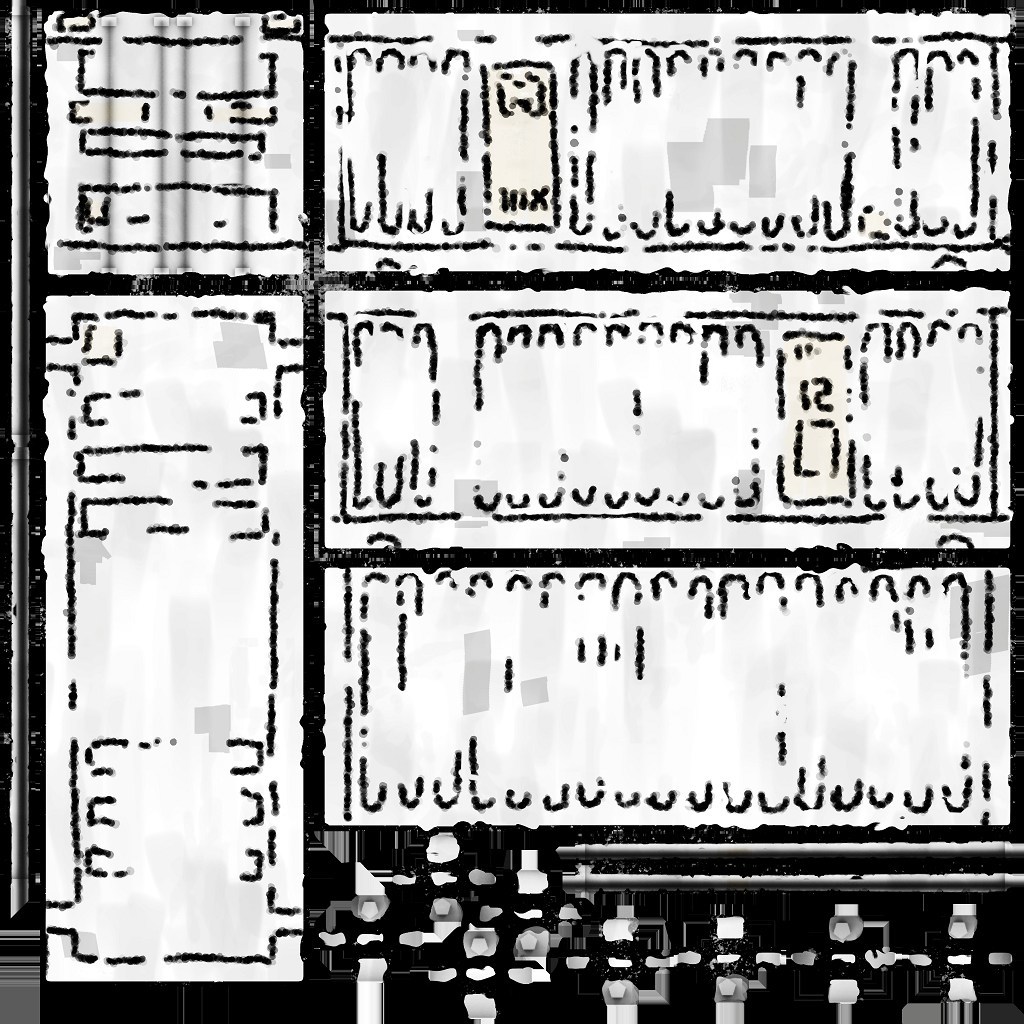
I can then easily color it all and export the final result - in this case the flat map with all color details.

The actual texture in the flat view.
There are some more twists and turns to it all, for example Normal maps. These are nowadays used in all 3D engines, to show the shape of small details on a flat surface. But for sake of brevity I'll skip some finer points.

The Normal-Map - it shows the 3D engine what 3D shape the smaller elements have. Again, a lot is automatic - I've put for example a wobbly structure on it, to make it seem a bit damaged.
With this result I can use another procedural program, called
Substance-Designer. I can then process the export images and create new sizes and color variations with one click.

I use Substance Designer to take the base texture and automate the creation of color versions.
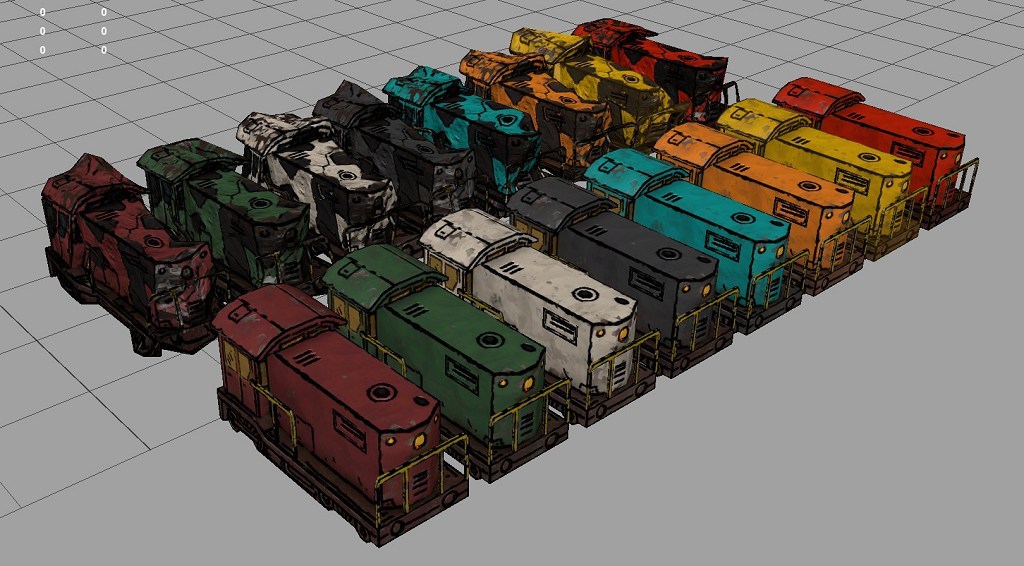
[caption] These are colors I let Substance Designer create for me.
Another such program is Houdini.

This is a damaged version, which also includes some distortion of the 3D model, which I do in Houdini.
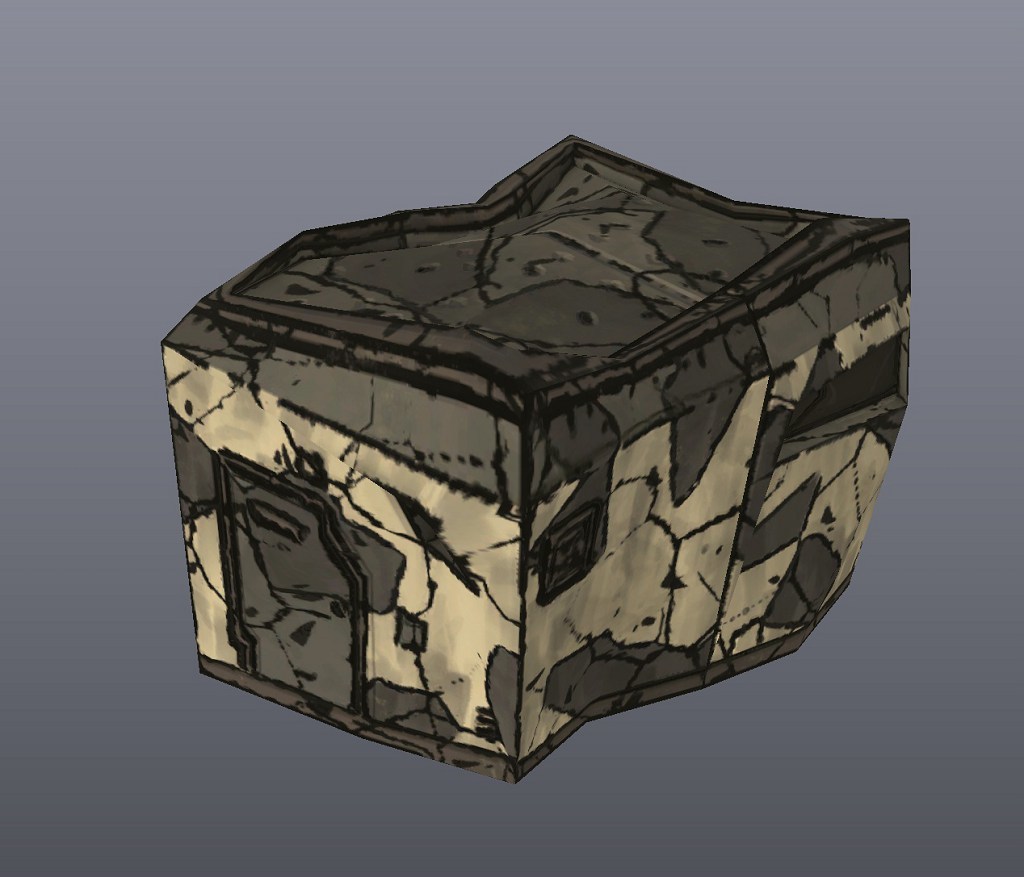
And just as an example, here is a completely different object - but since I could just reuse the rules I've set up for the train, most of the result comes for free.

It's a little cabin/exit (kinda like one you would see on a top of a building). It has all the style-elements used for the train, just adapted.

Again, thanks to the automation, it's just one click to get all these color versions.
The damaged version of the building could use the same procedure as the train - with only some adjustments, so that chipped paint for example wouldn't expose metal, but rather concrete.