The FV4005 Branch: Appetite for Destruction
It’s time to check how ready you are for the release of Update 6.0 and, more importantly, the FV4005!
Sherman Firefly—check! Pools of XP—check. Morale—upbeat.
If this doesn’t describe your current situation, you better hurry. The new British tank destroyers come in with exclusive Consumables and Provisions. Try out these vehicles on the battlefield and be among the first to experience the power of the new Consumables!
https://www.youtube.com/watch?v=mIEq8Nt9Kh4
Exclusive Consumables and Provisions
The following new types of Consumables and Provisions are only available to the new tank destroyers. These might be powerful, but you can’t make your vehicle unstoppable: you still only have three Consumables slots. To add something new, you’ll have to remove something. Play around with these new additions and find the best loadout for you!

Shell Reload Boost
Consumable. Exclusively for the FV4005
Consumable. Exclusively for the FV4005
- Reduces the reload time of each shell in the magazine by 30%
- Duration: 15 s
- Cooldown time: 75 s
- Replenishment cost: 8,400 credits

Reticle Calibration
Consumable
Consumable
- Reduces aiming time by 40%
- Reduces gun dispersion by 40%
- Duration: 15 s
- Cooldown time: 65 s
- Replenishment cost: 5,600–8,400credits

Improved Engine Power Boost
Consumable
Consumable
- Increases engine power by 50%
- Increases traverse speed by 10%
- Increases maximum speed going forward by 8 km/h and in reverse by 10 km/h
- Duration: 15 s
- Cooldown time: 90 s
- Replenishment cost: 5,600–8,400 credits

Spall Liner
Provision
Provision
- Reduces damage from HE shells by 20%
- Works automatically throughout the battle
- Replenishment cost: 3,200–5,000 credits
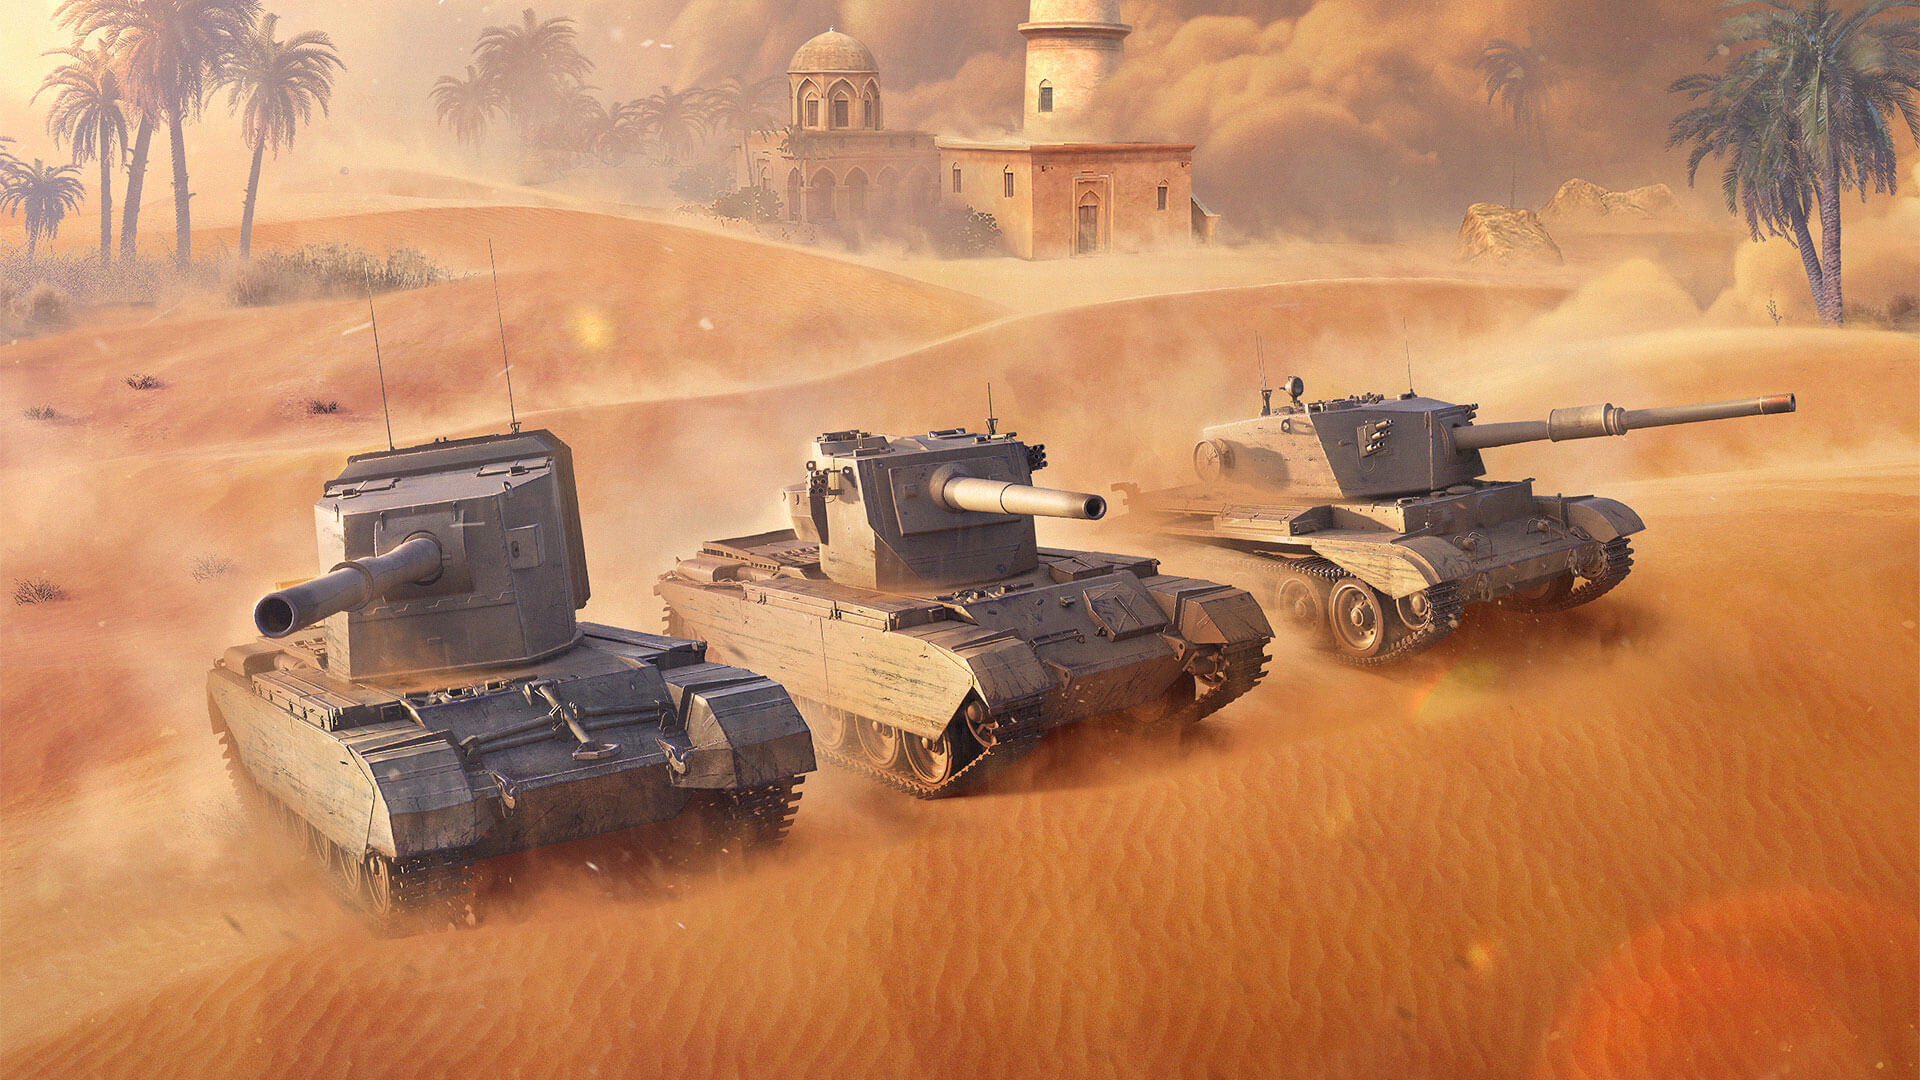
Speed. Turret. Gun.
Starting at Tier VII, the new TD branch consists of four vehicles. They are quite large and lightly armored, however, they do boast powerful guns with excellent depression and elevation, and fully-rotating turrets. You will be dispatching your foes into the Garage with ease in every battle, sailing through effortlessly to Tier X FV4005, which has an autoloader.
Tier VII: The Challenger
Researched from the Sherman Firefly for 65,680 XP, costs 1,400,000 credits.

In appearance, the Challenger resembles a heavy tank, but that first impression is deceptive: it’s actually based on the chassis of the Cromwell medium tank. When transformed into a TD, the vehicle inherited excellent mobility and a penchant for high speeds. It only takes about 5 seconds to reach its cruising speed of 35 km/h and will reach between 48 and 50 km/h in 10 seconds.
Add Improved Engine Power Boost to its maneuverability and every medium tank will be eating your dust!

In terms of armor, it’s best to assume that there’s nothing protecting this tank destroyer: most shells will penetrate and cause damage. Powerful HE shells are the most dangerous, so take the new Spall Liner provision into battle. A gun depression of 10 degrees and a high reversing speed will help save your precious hit points. To get the most out of your Challenger: hide your vehicle behind a terrain fold, roll out, shoot, quickly roll back and repeat. Be careful: your turret isn’t “bouncy” and if you expose too much of your vehicle, it could be disastrous.
The Challenger’s top gun can penetrate 220 mm of armor—this is more than enough to damage most opponents head-on. If it’s not enough, loading APCR with 252 mm of penetration will come to the rescue. And with the rotating turret, good damage per shot, fast reload speed and high accuracy, the enemy won’t stand a chance!
Tier VIII: The Charioteer
Researched from the Challenger for 106,250 XP, costs 2,650,000 credits.

Just like its predecessor in the tech tree, the Charioteer is built on the Cromwell chassis. Hence the excellent mobility: the vehicle became even lighter, and the power-to-weight ratio reached 21.5 hp/t. To some extent, the Charioteer is a wolf in sheep’s clothing; it’s not so much a TD, but almost a light tank. And when you add the Improved Engine Power Boost, well it’s more like a rocket!
There’s even less armor, and the only protection it offers is from the wind, the sun and the rain. It’s best not to find yourself being rained on by shells, and always packing a Spall Liner is a must. Otherwise, the first shells that hit will deal irreparable damage for that battle. Fortunately, the Charioteer also knows how to depress and elevate its gun on hilly terrain. Combine this with a reverse top speed of 20 km/h and you’ve got all you need to save your vehicle!

With the top configuration, the Charioteer is armed with a cannon from the FV4202, the variant with the HESH shells. If the enemy’s vulnerabilities are in sight, these shells would penetrate 210 mm of armor and inflict 440 damage per shot!
With the base AP shells, the gun serves up almost 3,000 damage per minute — dealing 350 damage per shot — and can penetrate 245 mm of armor. The high accuracy of the Charioteer can be further enhanced with the Reticle Calibration — with this onboard, locate the most fragile areas in your enemy’s armor and fire!
Tier IX: The Conway
Researched from the Charioteer for 160,000 XP, costs 3,500,000 credits.
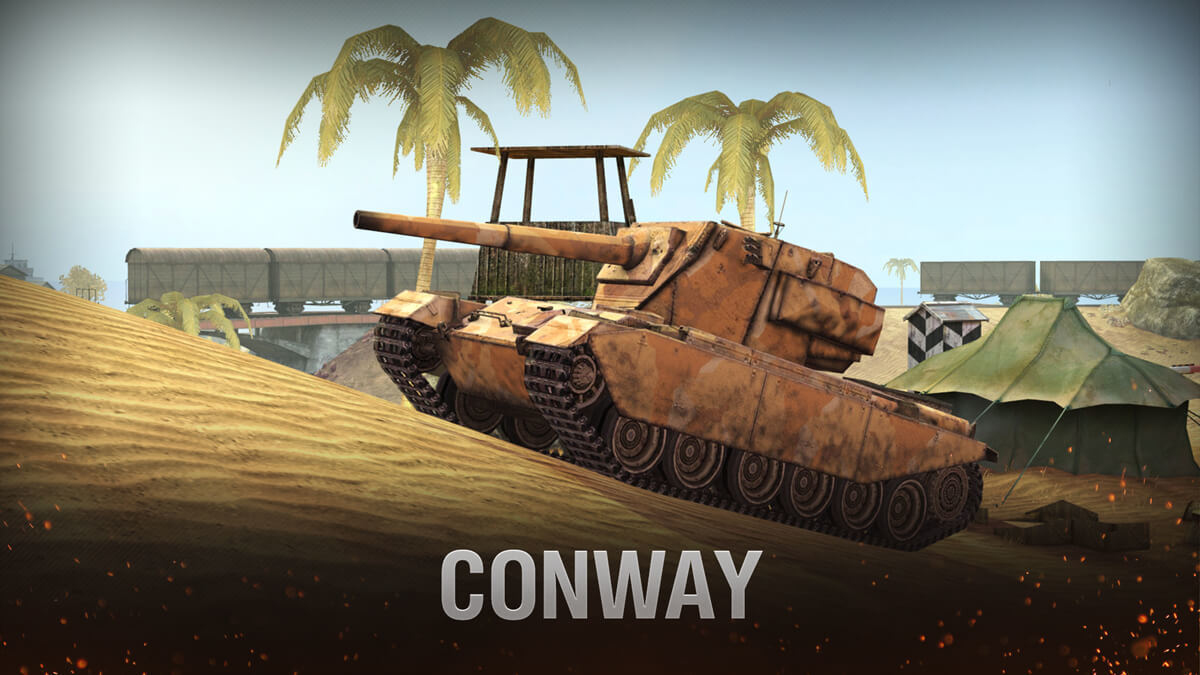
This huge colossus got the chassis from a different British medium tank, the Centurion. The Conway isn’t as fast as its Cromwell-based predecessors, but it’s still one of the most mobile TDs for its tier. It’ll take just 5 seconds to hit 30 km/h and can reach 39–40 km/h in 10.
There’s no armor, so let’s say it again: use the terrain, the gun depression, Spall Liner, and caution. The task of the Conway is not to take damage, but inflict it; for that, this TD has everything you need.

The Conway has two good Tier X guns and it’ll be your decision which to mount. The first gun offers impressive damage per minute, and the second — great damage per shot.
The base 120 mm gun is stock. You might be familiar with it already as it’s available with the Tortoise — the Tier IX from the other British TD branch. It boasts a great rate of fire, short aiming time, high accuracy and armor penetration, good damage per shot and a DPM of 3,200!
However, for the Conway, the gun’s advantages are slightly flawed. To use the gun to its full potential, you must pay a price: getting under fire. However, if you decide to play with this stock gun all the time, we’re sure no-one will judge you… At least, we won’t!

The second option is a large caliber with HESH shells, high damage per shot, but a low rate of fire. In general, this weapon has its flaws, but its characteristics are more suited to the playstyle of the Conway. You’ll have to leave cover to take a shot every 13–14 seconds with each shot dealing 600 damage. The HESH shell, which has an armor penetration of 200 mm and deals 670 damage, will gladly set course for enemy weak spots. With this gun fitted, the Conway will survive longer and fight more efficiently, and with a high damage per shot, you’ll send the enemy into hiding!
Tier X: The FV4005
Researchable from the Conway for 280,000 XP, costs 6,100,000 credits.
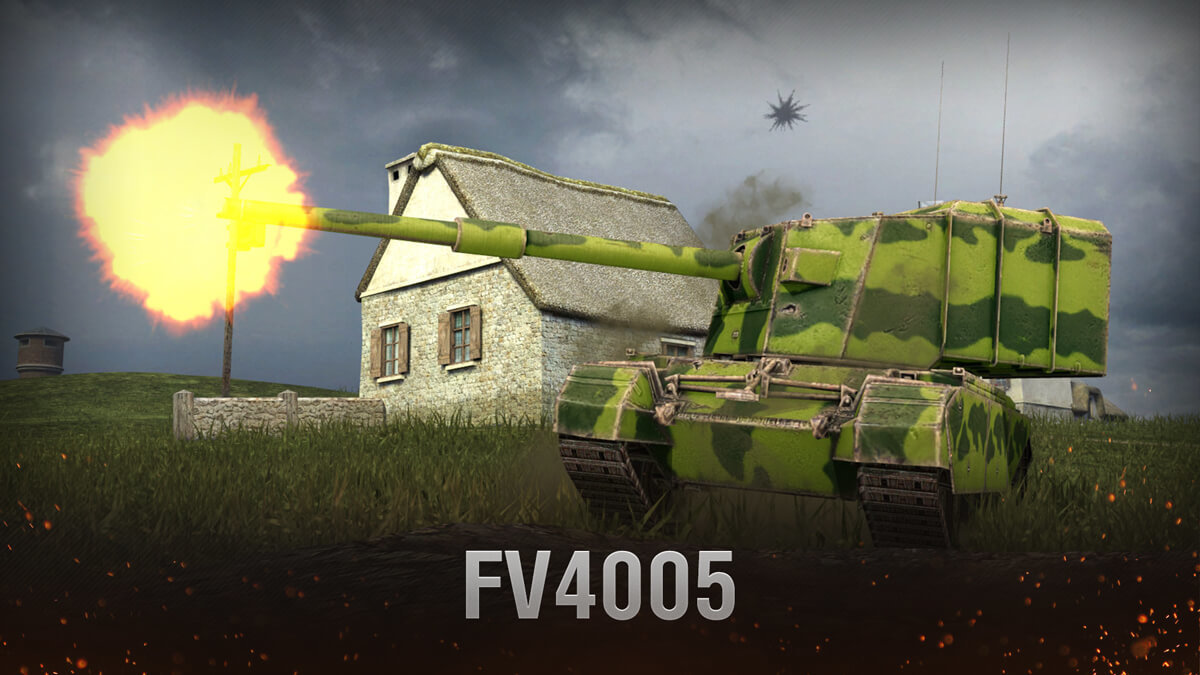
The jewel in the crown of the new branch is also huge and built on the chassis of another medium: this time, the “donor” was the Centurion Mk.3. This chassis gave the FV4005 an enviable level of mobility for a vehicle of such size: it will hit 30 km/h in about 4 seconds, and its top speed of 40 km/h in 6–7 when on solid ground. Turn on Improved Engine Power Boost and in 15 seconds, you’ll have cleared half the map and be ready and waiting for the enemies to appear, sitting in a cozy position.
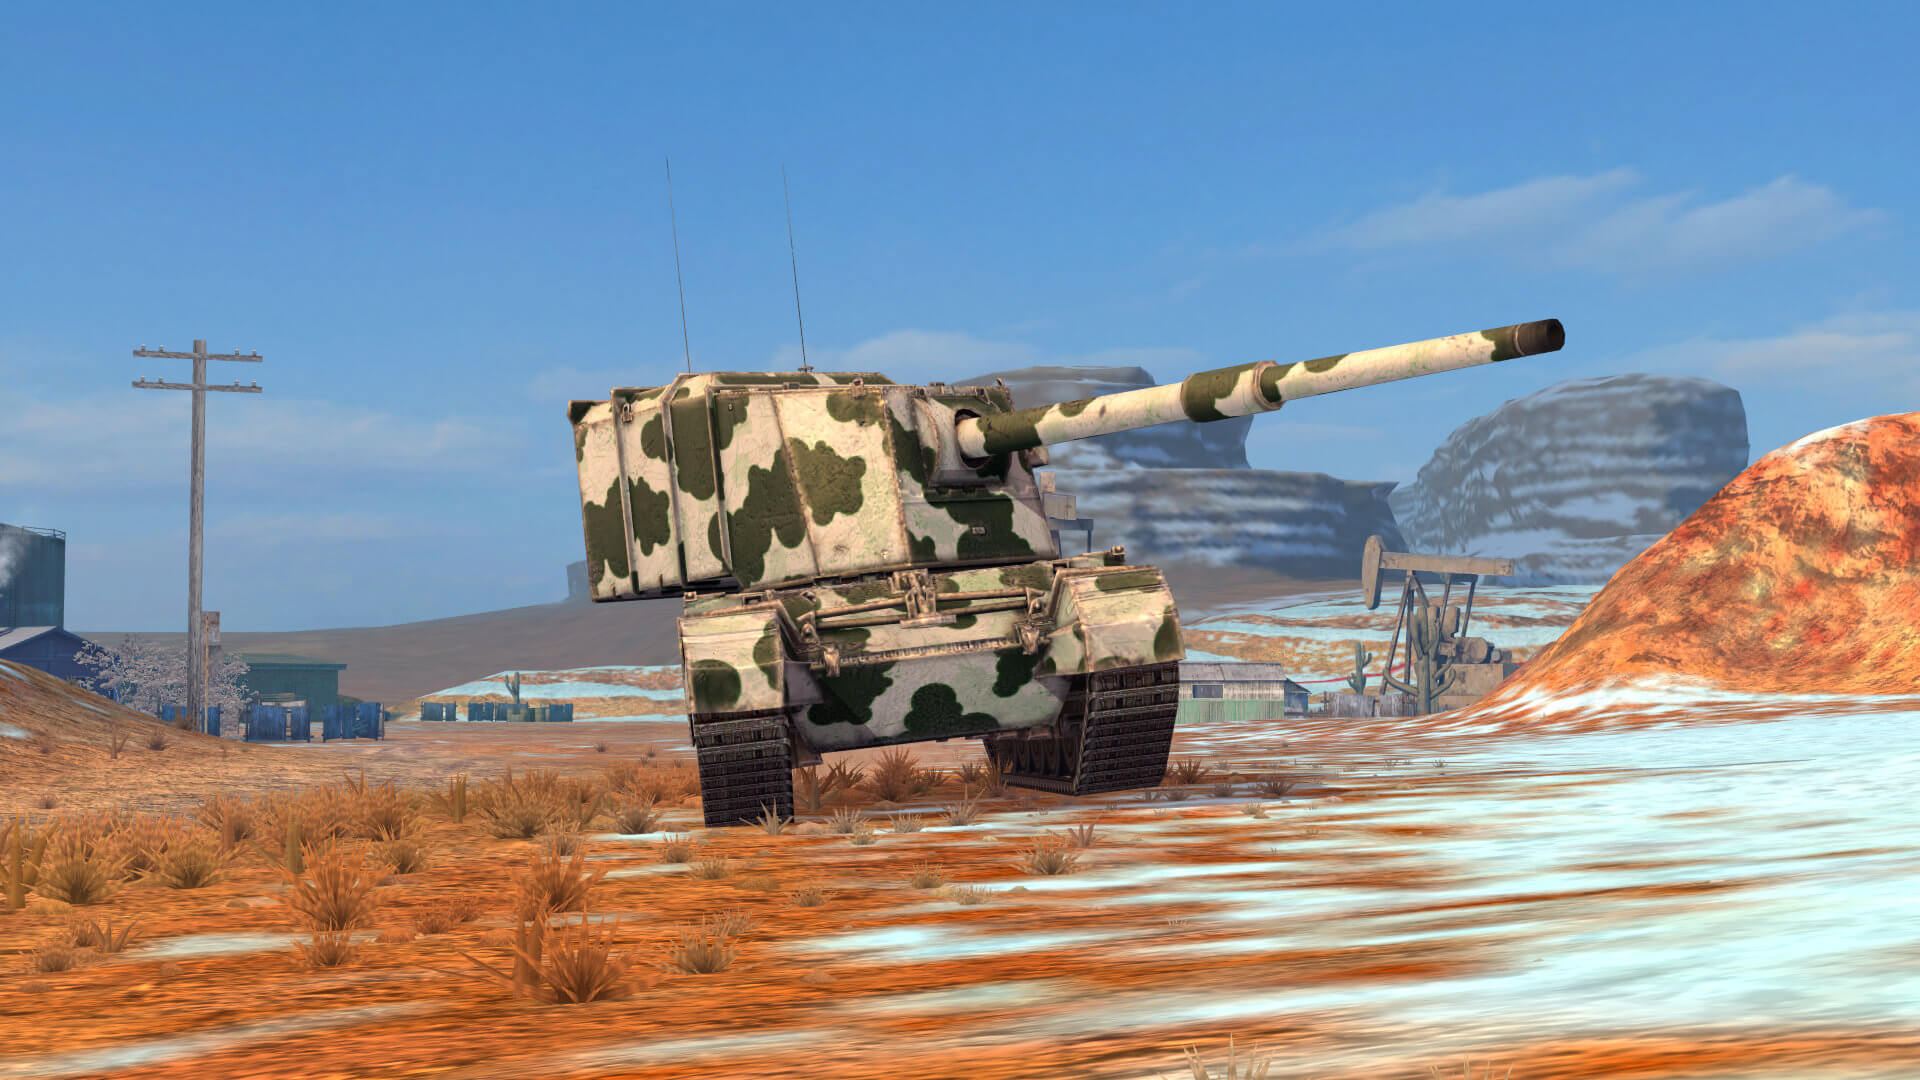
The chassis’ high maneuverability has been kept too, but it is still possible to run circles around the new TD. The slow turret, which only turns 180 degrees, is to blame. However, it’s a sin to complain about such a thing; don’t forget some turretless TDs’ guns only turn 14 degrees.

As for its armor, yes, you guessed it: you might as well pretend it’s not even there. There’s especially little armor on the turret — only 14 mm around. All the tips we gave you before are even more important at Tier X. Install a Spall Liner, use the terrain and the 10 degrees of gun depression to your advantage.
The FV4005 is designed to dish out damage. To do this, it has a powerful autoloader that holds 3 shells, each of which deals 460 damage. Reloading within the magazine takes only 3 seconds, and by equipping the Shell Reload Boost, it can be cut down to 2.1 s. In just 4 seconds, you can unleash 3 destructive projectiles with a combined damage of 1,380!
In addition to the unique consumables, the FV4005’s gun is distinguished by its advantages not normally seen with autoloaders: it manages to aim fully between shots, it has decent armor penetration and powerful APCR shells.
This weapon will grant you crazy firepower, but you need to use it properly. It will take you almost 20 seconds to reload the magazine, so you need to always think about escape routes and cover for this time. Keep the enemy at a distance, use your good mobility and take up spots that allow you to deliver decent damage. Fight in a platoon with a more protected tank, which can take the enemy’s blows. And then, each enemy in your sight can receive 1,380 damage!
Get the “Royal Treatment” for the FV4005
When the FV4005 graces your presence, open the “Appearance” menu. A royal dress will be waiting for you: the “Royal Treatment” attachment. A spiked mine trawl adorns the front of the royal car, a machine gun and shield which states the kettle is boiling, just make sure you don’t forget the teabags. To unlock the “Royal Treatment”, you will need 4,000 gold.
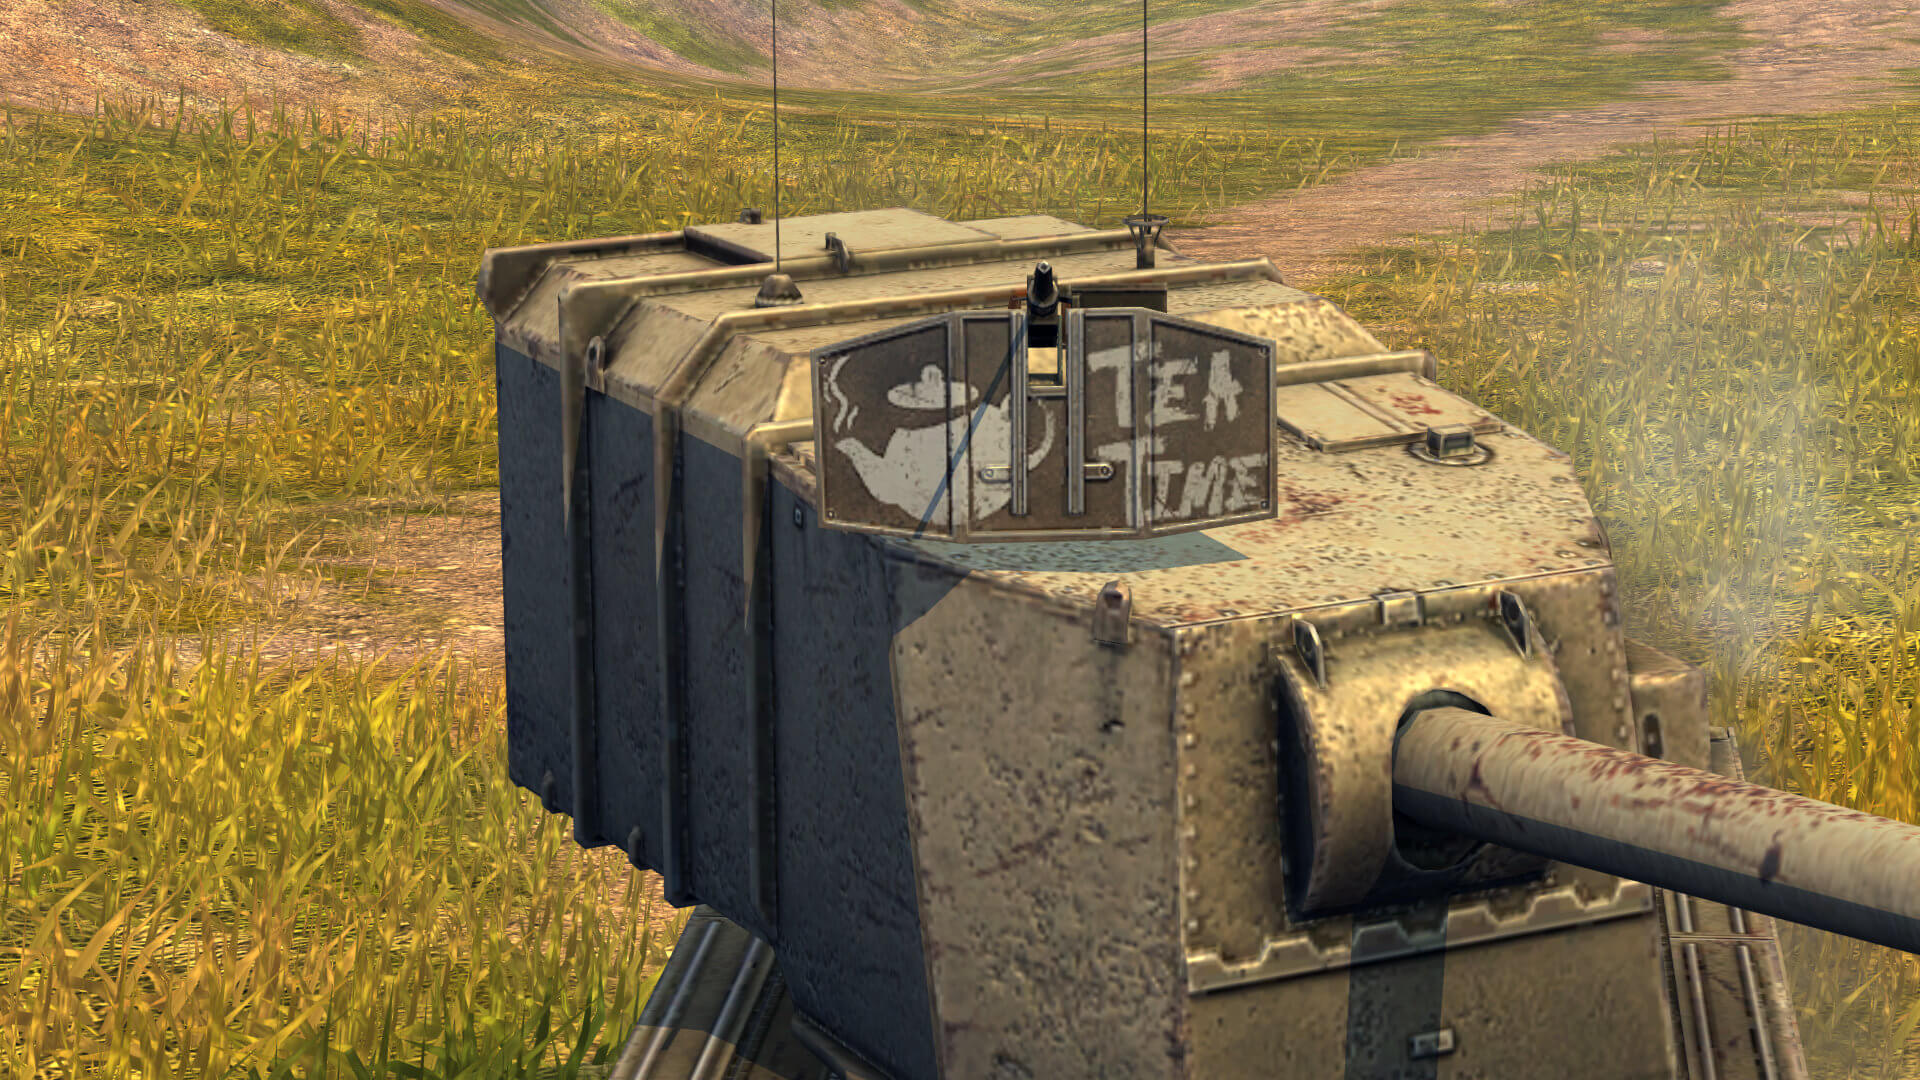

Give your enemies a “Royal reception”!