1. Vagrus - The Riven Realms
  2. News

Vagrus - The Riven Realms News

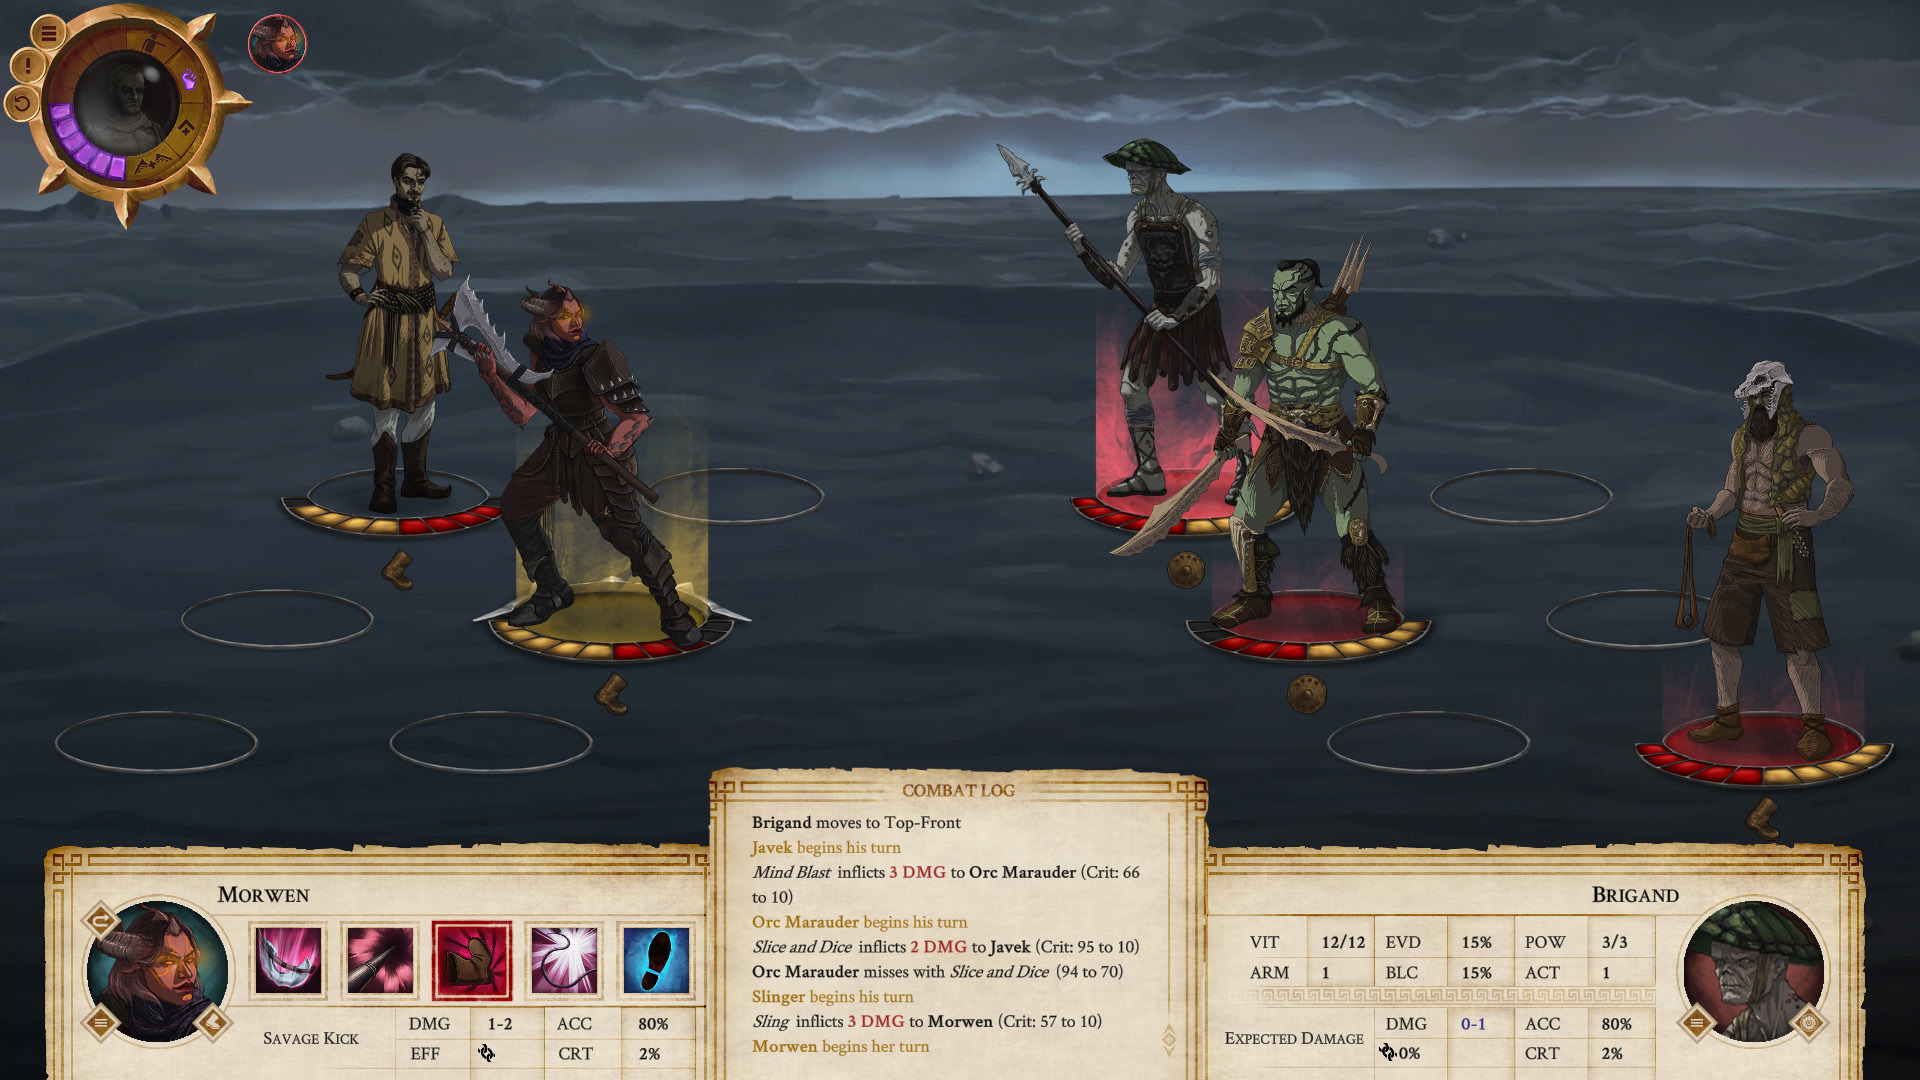
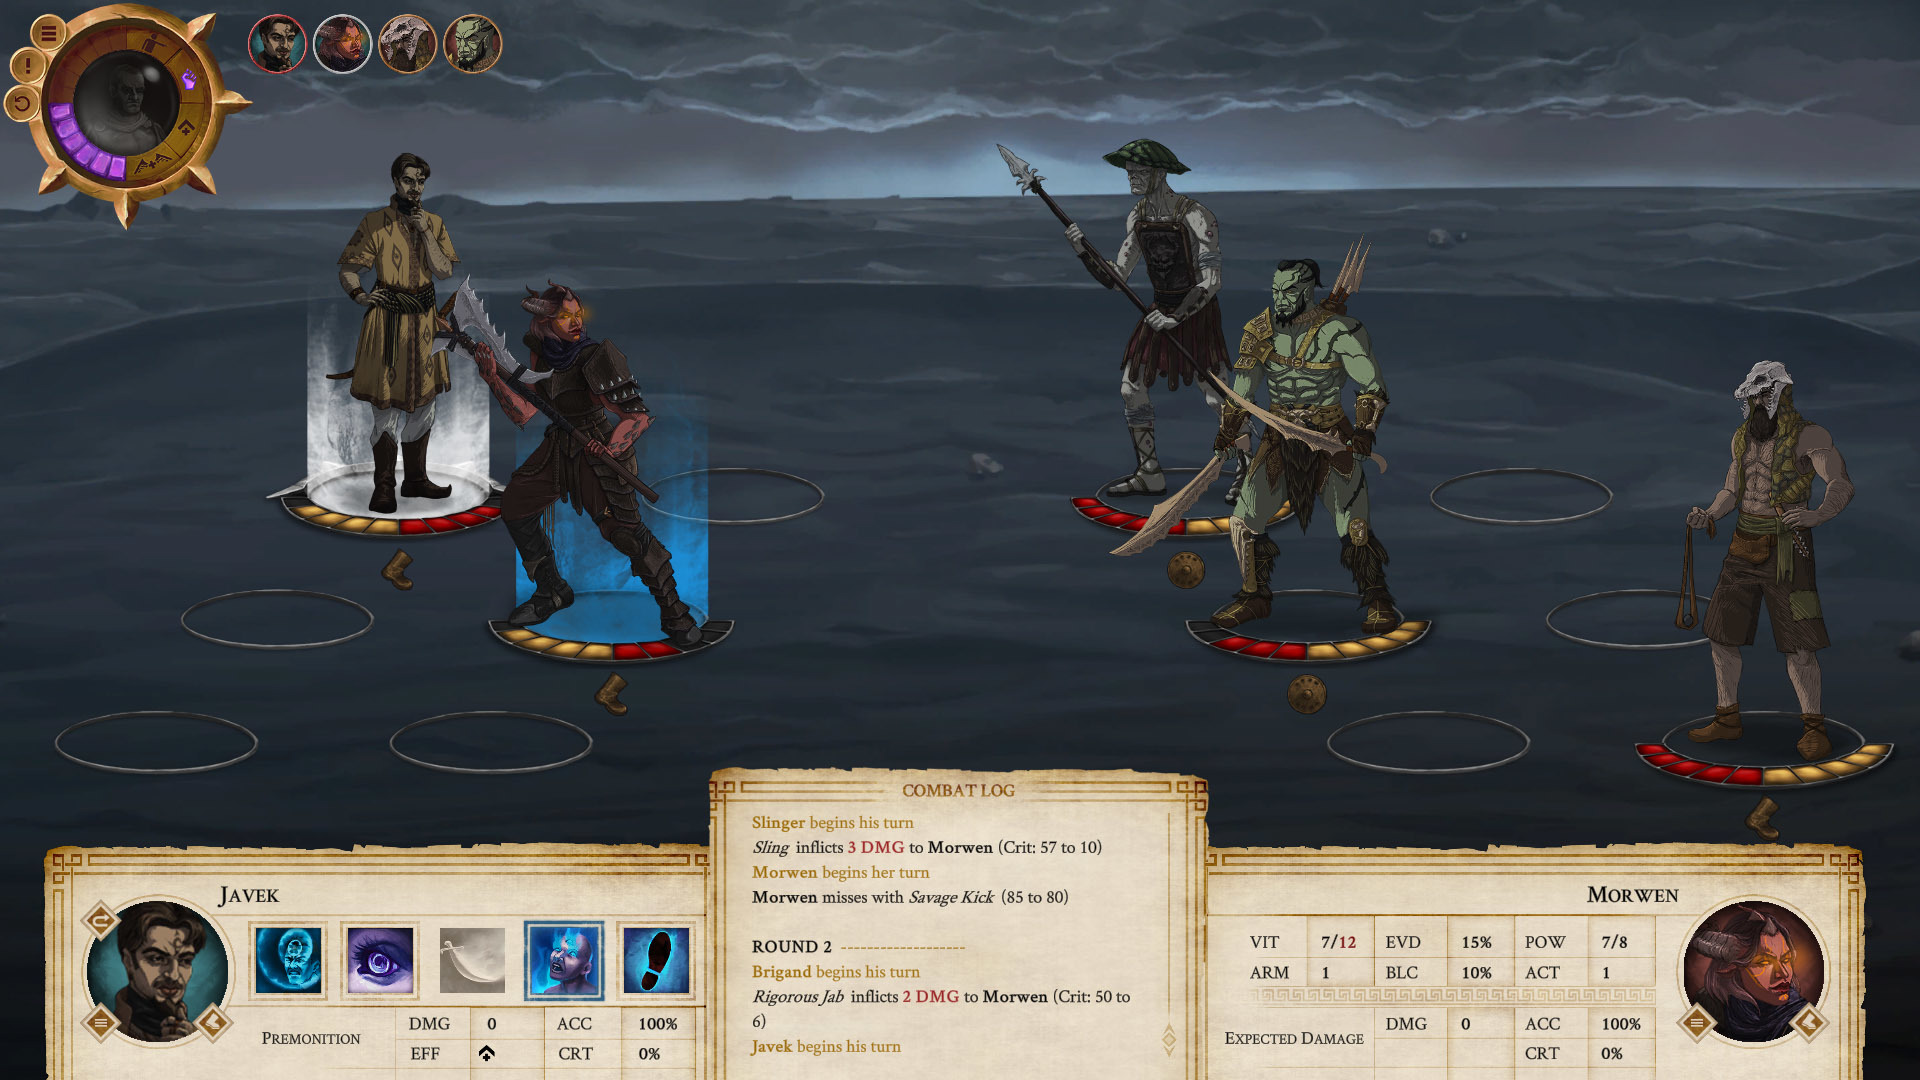
Devlog #16 🔄⚔️ Companion Combat Guide - Part 4: Movement Effects 🏹☠️


In the last part of the Combat Guide we took a look at defenses and their importance. This time, we'll delve into effects that involve movement or its restriction in one way or another.

Many Combat Skills in Companion Combat deal some kind of additional effect; some of these involve forced movement on the target or the denial of movement.

Push and Pull


As discussed before, positioning in Companion Combat is paramount, stemming from the fact that many Skills can only be used from either the front or back line. It thus follows that Skills that can change the position of an opponent are very useful as they can deny them an action by making them spend their turn to reposition. These effects are resolved immediately.


Push is the most common of such effects. When a Skills that has Push connects with a front row target and causes damage (even if the damage is mitigated to 0), the target is pushed to the back row if the Resist roll is failed. If there is another opponent that occupies that position, they both lose 1 Vitality.


Pull does the opposite, that is, when connected (and dealing damage as well as not resisted), the effect pulls a back row target to the front row. This can be used very effectively to pull squishier or dangerous ranged opponents to the front where your melee squad can punish them severely.


Control


Certain Skill effects allow you to control the actions of your opponents, though these almost always allow you only to move with the opponent, not to use their Skills. Still, if done well, this free movement can very effectively disrupt the enemy's plans, positioning adversaries into vulnerable places or denying them actions.

Immobilize and Stun


There are also effects that outright deny movement and even actions in general when applied (after the Skill that has this effect connects, causes damage, and the effect is not resisted). These effects can last several rounds at a time.


A successful Immobilize denies the target the use of their Move action. They can still use their Skills available from that position but this may severely limit what they can do. Certain characters - when immobilized in the right position - can be forced to pass their turn as they can no do anything. A successful Stun forces the target to pass its turn, thus denying them all actions. Stun is a powerful effect that is usually costly to use and is thus limited.

Overwatch and Obstacles


There are other effects that can alter movement and positioning. Overwatch is a Skill type that allows a character to set an attack on an empty position: when an opponent moves onto (or is moved onto) such a position, the attack is triggered. Though the opponent does not see which empty position is overwatched, fear of triggering it may result in avoiding movement altogether.


Obstacles occupy a position but do not act. They have Vitality and can be targeted. When defeated they simply disappear from the battlefield. Some Skills spawn Obstacles that can be used either to give your back-row characters Cover or deny certain positions on the enemy side (by placing the Obstacle there).

As you can see, these movement-influencing effects can be useful in a large variety of situations. Keeping select enemies controlled in such ways is a very viable tactic to achieve victory even against unfavorable odds.

We hope this was interesting to some of you and even useful for learning the workings of Companion combat in Vagrus. We might return with further Combat Guides in the future.

Thanks for reading and following us,
The Lost Pilgrims Team


Website| Patreon| Discord Youtube | Twitter | Facebook| Instagram

Devlog #15 🛡️⚔️ Companion Combat Guide - Part 3: Defenses🛡️☠️


In the last part of the Combat Guide we took a look at Companion Actions, including moving, Skills, and their combinations. This time, we'll delve into defensive stats and their importance.

Companion combat is cruel in Vagrus and in general you can not heal during it. Your defenses are your main way to mitigate damage, so understanding how they work is very important.

Basics
Vitality (VIT) is the stat that your fighters lose each time they are hit. When depleted, the Companion falls into a Downed state. When Downed, they can not act (they do not receive their turns) but can be targeted and damaged. They have their Downed Vitality for when they are Downed. If that, too, is depleted, they are Out of Action, which means long-term wounds and potentially death. Therefore, it behooves the player to protect Downed Companions as best they can. That said, there are a few methods to bring back Downed characters into action but none of these are easy or cheap.


Armor (ARM) is the stat that mitigates damage: its value is deducted from incoming damage. Some Skills have additional effects that can reduce or outright ignore Armor, so that also has to be considered.

Defense Modes

Your defenses (Evade and Block) are the primary means to avoid or mitigate incoming damage.


Evade (EVD) allows you to completely avoid an attack but you will be moved to an adjacent unoccupied position after a successful Evade. That also means that they may move away from a position that protects another Companion or into a potentially more dangerous position.


A successful Block (BLC) provides extra Armor against the attack, mitigating more damage. However, you can still suffer damage while blocking and also suffer adverse effects from an attack, unlike with Evade (see Resistances below).

You can only have one active Defense Mode per combatant, either Block or Evade. Each Companion has different Evade and Block chance but because certain Skills are better against one or the other, you often have to change these to adapt to the situation at hand.

Cover

Additionally, the Cover system also modifies these rules in the following way: if another Companion or objects is in front of a back line combatant, Ranged attacks with the Line of Sight property against them receives a flat penalty on Accuracy (making it harder to hit the difficult-to-see enemy in the thick of combat).


Resistances

Beside direct physical damage, combatants can receive, there is a vast number of Effects the Skills may apply on their targets (Stun, Poison, Curse and so on), as well as all kinds of elemental damage (like lightning, fire, magic, and so on). Each Companion has a set of Resistances that serve two purposes:
  • They lower the amount of elemental damage from the give type (for example, 30% Fire Resistance will decrease Fire damage by 30%).
  • They can negate the effects of Skills (for example, with 30% Fire Resistance, the combatant has 30% chance each time a Fire effect - like Burning - would take hold to negate the effect entirely).

Enemies and allies both have really varied Resistance setups, so it often comes to bringing the right fighters against a tough enemy to gain the advantage. Of course, a lot of buffs, debuffs, temporary and permanent effects, as well as gear can alter Resistances.

We hope this was interesting to some of you and even useful for learning the workings of Companion combat in Vagrus. In the next - final - part of this guide we are going to cover the movement effects.

Thanks for reading and following us,
The Lost Pilgrims Team


Website| Patreon| Discord Youtube | Twitter | Facebook| Instagram

Devlog #14 ⚔️☠️ Companion Combat Guide - Part 2: Companion Actions ☠️⚔️


In the previous part of our Companion Combat Guide (Part 1: The Basics) we left off at discussing the Leader's role in combat after outlining the basic rules of an engagement. In this part, we'll cover the actions that Companions can take during their turn.

Movement 

All characters can Move to any adjacent position on their side of the battlefield. If they move into a position that is occupied by another character, that character is pushed out of the position it occupies and has to be moved into an adjacent free position (even to the position the moving character has just left).


Melee Skills, of course, can only be used from the front row. Additionally, not only do characters in the front row prevent melee attacks against characters directly behind them but also make them more difficult to hit with certain Ranged Skills (those that have the Line of Sight property), so moving and positioning is paramount in Companion combat. By extension, Combat Skills that move enemies can be extremely useful to get to pesky support or damage-dealing enemies in the back line or to prevent melee-heavy enemies from using Skills.

Targeting Basics

Skills vary vastly in what or who you can target with them. Some skills target an enemy (or several enemies even) while others your own Companion or Companions. There are also certain Skills that target empty positions and leave some kind of delayed effect on it (for example, a hail of arrows to strike anyone entering the position). Finally, some Skills only target the user, typically self-buffs.

Melee Skills can only be used from the front row. They can only target front row enemies that are adjacent to the attacker’s position or back row enemies if no front row enemy stands in the way.

Ranged Skills can target anyone on the given side of the battlefield. A subset of Ranged Skills have the Line of Sight property - these receive a flat penalty to Accuracy when targeting an opponent behind another enemy or an obstacle (thus gaining Cover).

Multi-target Skills

Some Combat Skills target multiple enemies in a set configuration from one of these:
  • Two Adjacent enemies in a row (for example, Sedarias' Cleave hits two melee enemies next to each other in the same row).
  • Both enemies in a Line which means a front row enemy and the one in the back row behind it. 
  • All enemies in an entire row (for example, Garrik's gas bomb affects all targets in a single row).
  • Up to four enemies in a square pattern (for example, Finndurarth Lightning Strike targets a 4-position square and hits everyone inside that).
  • The whole enemy side. These skills are rare and extremely powerful (for example, the Jhakra Alpha's Roar potentially Stuns the entire enemy side).
Skill and Movement Combined

A lot of Companions and enemies have Skills that include some kind of Movement in the effects. The case is either that a Move precedes the Skill's effect or that a Move follows it. Javek's Receding Swing allows him to attack someone in Melee and then Move, which is ideal to bring the relatively squishy sorcerer to safety in the back line. 


Morwen's Strafe is another great example: she hits two adjacent enemies in Melee, then receives a Move to the side. This way she can often deal damage while repositioning herself either to protect someone in the back or to distance herself from dangerous enemies.


Beside Move and using Skills, Companions also have the option to forfeit their turn. This is not only useful when they have nothing to do but outright compulsory when they can not act (for example, because none of their Skills have viable targets and they are prevented from Moving by an effect).

With every Companion and enemy having four Combat Skills and such an emphasis on movement and positioning, combat is deeply strategic and has a lot of synergies even in the Prologue. We hope you found this useful or interesting. In the next part we will talk about defenses and how they affect actions.

Website | Youtube | Twitter | Patreon Facebook | Instagram | Discord

An early Letsplay video of the Prologue by Nookrium

Hey Vagrus fans,


We thought some of you might be interested in watching gameplay videos of Vagrus - well, the Prologue chapter of the game to be precise.

So here's a brilliant recording by Nookrium which perfectly grabs the essence of the dark fantasy setting of the Riven Realms while remains well paced.
https://youtu.be/Zng0xcAClUY
The Prologue is the narrative exposition for the setting of the Riven Realms and also serves as the tutorial of the game, and so it starts off leading you as the player through a very narrow path and then gradually opens up both in terms of functionality and narrative choices. It reaches its zenith in Act IV, after you leave Avernum, from which point onwards you are free to lead your comitatus to almost any direction you want. Of course, success is far from guaranteed, so you need to carefully plan your trips considering all the information available to you, lest your journey end up in disaster, be it a deadly confrontation, financial ruin, or your own crew leaving you due to bad morale. Are you ready to try it yourself?

The story awaits you: Conquer the wasteland!


Devlog #13 - Companion combat ☠️⚔️ - Part 1: The Basics


In the final chapter in our Character Design series, we have touched upon how we come up with the stats and skills for the Companion characters and enemies in Vagrus. A great number of those stats come in to play in action, so in this new Companion combat series, we are going to walk you through how they work in the game. Let's start at the basics!

Companion Combat is turn-based, where 1 to 6 enemies fight against your team of 1 to 6 Companions. You can use the Skills of your Companions to defeat your enemies, protect your Companions, and set yourself up in advantageous positions on the combat board.

Companion combat is made up of rounds. Each round, all the participants take turns to act, and when everyone has had their turn, the current round ends and a new round is started. This goes on until either all your Companions or all your enemies are defeated.


The main blocks that you can see in the Companion combat are these:


The Combat board is divided into two sides: the friendly side (left), where your Companions and occasional allies are, and the opponent side (right), where your enemies are. Both sides can have a maximum of 6 combatants. Each side has a front row (melee row) and a back row (support row). Each row has 3 positions. Certain skills can only be used when standing in a position of the appropriate row (for example, melee skills can only be used from the melee row).


The minimized Character sheet features the basic stats of your active Companion: their set of skill icons and the stats of said skills (more on skills in Part 2!). The Character Sheet can be opened to its full size, where you can see all the combat-relevant stats of the active Companion and consult the tooltips to learn more of each stat.

The Combat Log can be consulted at any time to see what exactly occurred. The log can be scrolled but if you wish to see more of it, it can be opened fully.

The order in which combatants receive their turns is according to their Initiative (INI): at the beginning of each round all active combatants add 1-6 (random) to their INI to determine in what order they will progress through the round (starting from the highest INI). The Initiative order (portraits at top left) shows the order in which combatants receive their turns. Wise leaders use this information to plan ahead.

You as a vagrus do not take part in combat directly but you can influence what happens in a very direct way nonetheless. The Leader medallion (top left corner) shows your Resourcefulness (purple bar) and Leadership skills. Each such skill can be unlocked by leveling up your vagrus, and each of these can be used to alter the course of combat using Resourcefulness. For example, Empower can be used to give Power to a Companion so that they can use powerful skills again, or Aid can be used to bring back Downed characters (who are essentially defeated and can't act in their turn). This brings a whole new strategic level to Companion combat.

In the next part of this series, we are going to go into skills and movement rules in Companion combat. Stay tuned!

Website | Youtube | Twitter | Patreon Facebook | Instagram | Discord